With AI-based code completion being the latest rage, I wanted to check out the basics of local capabilities that are available as an alternative to Cursor‘s hosted services. The primary prerequisite that I have is that it must have a native plugin for Visual Studio Code. This search brought be to Llama.VSCode, which (among other things) allows you to do code completion via an underlying Llama.cpp server which utilizes your local GPU. Since I have an RTX 5070 TI, I’m going to use the FIM Qwen 7B model. The setup is pretty straight forward, unless you are like me and do your development work inside a Windows Subsystem for Linux (WSL) session. This post is going to detail how to accomplish code completion using the WSL environment.
First, we’re going to install llama.cpp, which can be done via their releases page, or, in my case on the hosting Windows 11 box, by using the winget command.
winget install llama.cpp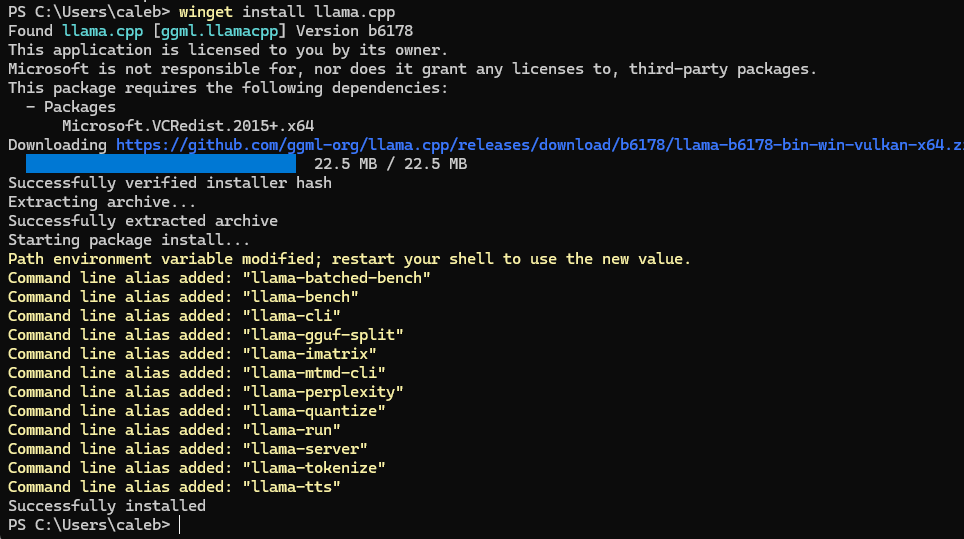
Once installed you’ll need to reload you shell (Powershell) and start the llama-server using your desired model, as well as allowing it to listen on all IP Addresses. If you end up wanting to make this the default behavior you should run it on start-up or login.
llama-server --fim-qwen-7b-default --host 0.0.0.0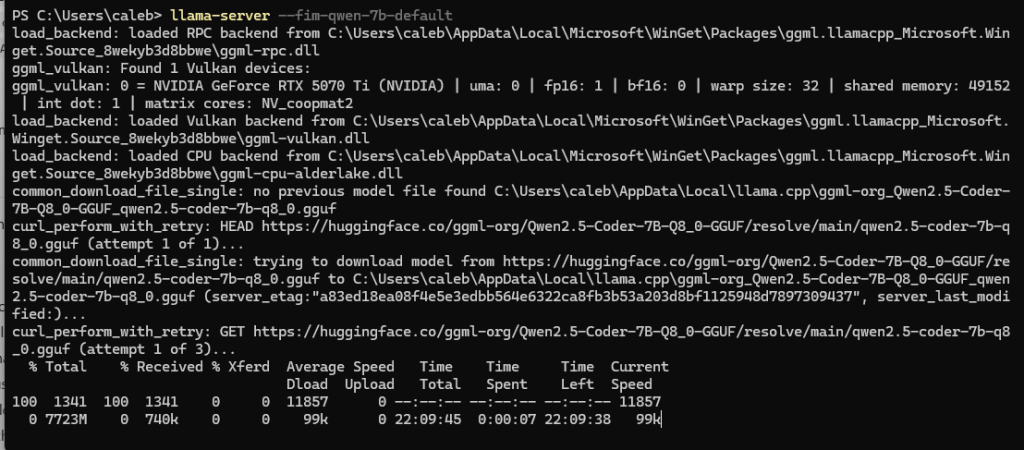
The download process can take a while, but once it’s completed your output should show the instance listening. Be mindful of your firewall rules here, you might need to open it up.
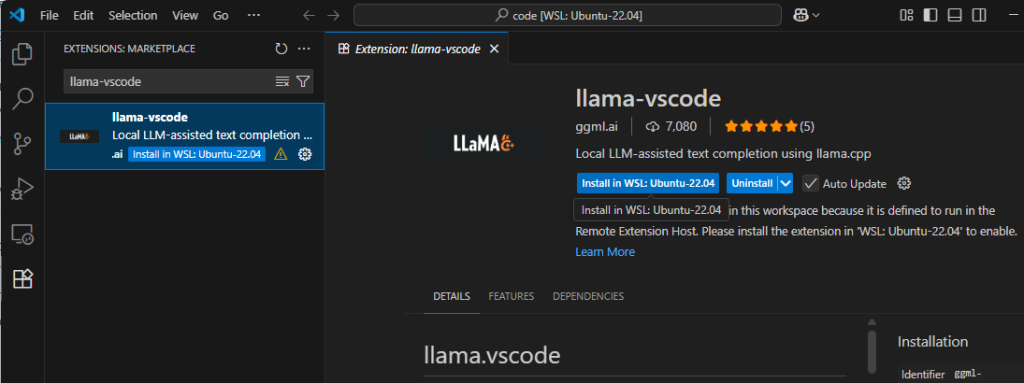
Next, we’re going to install the llama-vscode plugin into the WSL-connected Visual Studio instance.
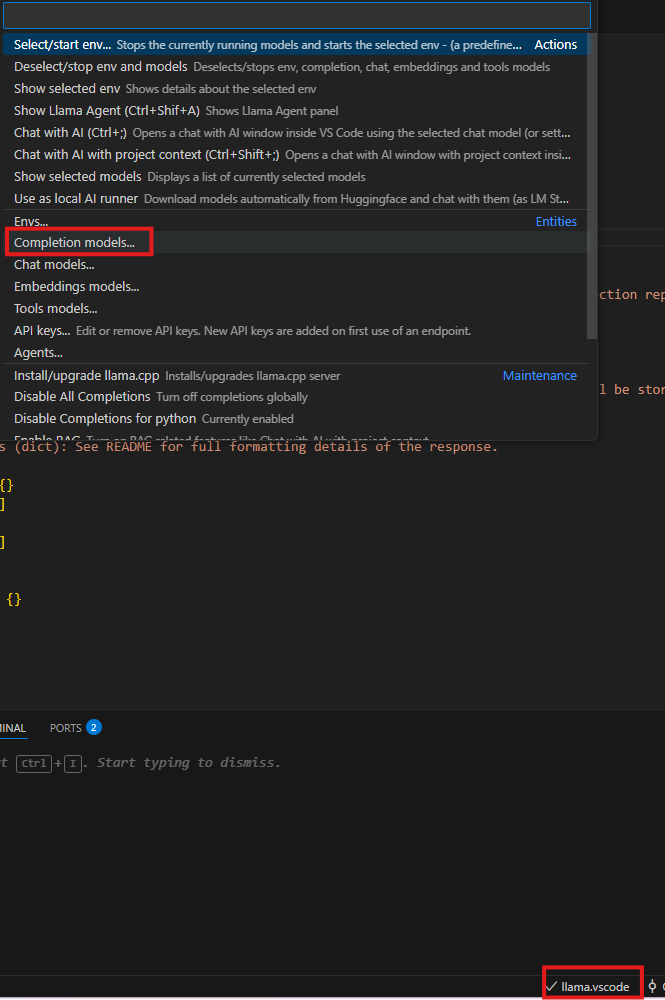
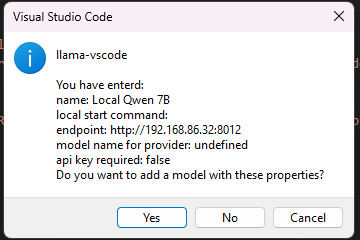
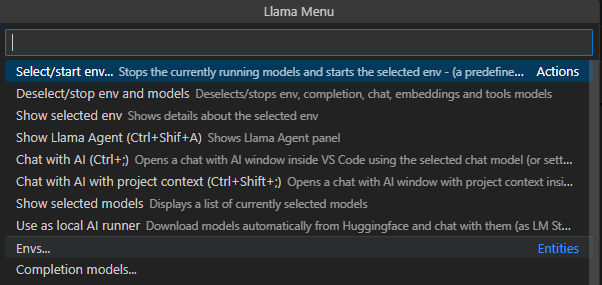
Out of the box the local usage of a environment is very easy. You simply click on the llama.vscode in the bottom right of the Visual Studio window and hit “Select/start env”. However, since we’re not using a “local” instance inside of the WSL VM, we need to instead add a new Completion Model as shown below.
The process is simple:
- Name = QWEN 7b
- Local Start Command = omitted
- Endpoint = http://<host IP>:8012
- Model Name = omitted
- API Key = False
After following the wizard you will be prompted to review and save the settings.
At this point auto completions will work, however, the settings are not saved and will not survive if you close out VS Code.
You can also use the same model to do chat sessions, all you need to do is repeat the above steps, but for a Chat Model.
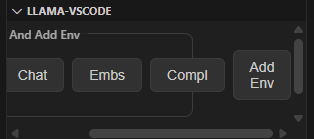
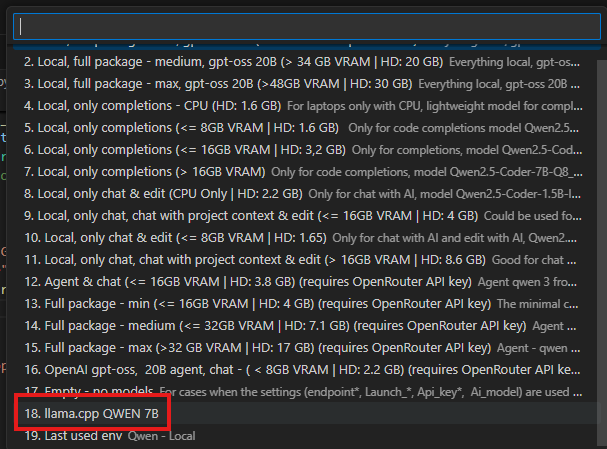
To save our Completion Model we need to select the “Envs” setting and add a new Completion Model.
This pops up in an awkward dialog in the lower left corner, but you need to hit the “Compl” button aand select your newly created Completion Model. If you have configured a Chat Model as well, you’ll need to add it here. After you do this, you will also need to click the “Add Env” button to save your changes.
At this point your changes are now saved and will survive future sessions. You can enable the auto-completion functionality by selecting your new environment alongside all the other defaults.
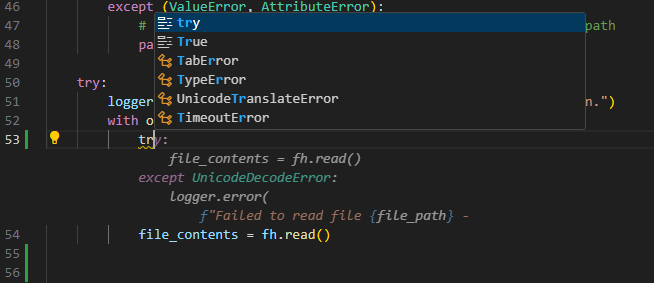
Now, you are free to enjoy the various benefits offered by your auto-complete functionality…
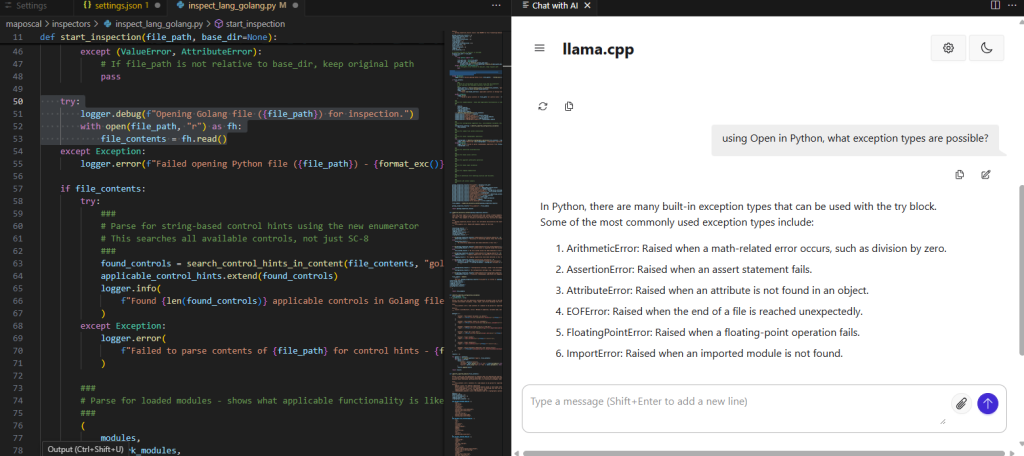
As well as using the chat functionality.
As I begin to use this functionality I’m struck with some immediate observations:
- Large, foundational models (e.g., Claude, ChatGPT, etc.) are getting to the point of being extremely valuable. The amount of functionality provided is frankly astounding in many use cases.
- Access to foundational models for commodity users is only possibly due to heavy subsidies by investors/VC. As of August 2025, CNBC reported that OpenAI was expecting around $5 billion in losses in 2024. This trajectory is not sustainable long term, so in the future I expect that FinOps will dictate that many of the smaller, less-complex operations must be done with smaller, likely local models. This (as well as context/token management) represents an entirely new field of business opportunities for some companies…
- Performance of a local LLM (understandably) does not measure up to large services (e.g., Claude, ChatGPT, Gemini). If you want to do project-wide operations with expert-level context, you’ll want to stick with these types of services.
- Code completion capabilities are often useful, however you need to be aware of the less-capable model leaving dead code behind or missing critical context when making decisions. Where a foundational model can re-factor and improve large chunks of code, a local LLM is currently limited to being a developer’s sidekick or helpful assistant.
- When using a smaller LLM, targeted, general programming questions are ideal for chat use cases. Code analysis can be performed as well, but the results are mixed based on the model. That said, education is a sweet spot for this type of usage.
- With a smaller LLM, your own code base’s context is not holistically parsed in enough detail, thus making the current generation of models for this use case limited to smaller, (function-level) or smaller code changes. This can change in the future with fine tuning RAG, but it’s not the case for out-of-the-box users.
- Cost is ultimately going to be a significant concern for individuals and organizations in the future, so understanding what you can perform and offload from your service-provider will likely open up a significant cost savings in the long-term.
- Many operations don’t require the capabilities of a foundational model. There is a huge opportunity to implement smaller models locally, if they have a specific task in-scope with their capabilities. The capabilities already offered by Gemma3, Deepseek-R1, GPT-OSS, Codellama, are already at a exceptionally high-level for something that is freely available for commodity hardware.
We’re on an exciting and interesting journey in the field of computer science as it collides with another, industry-shaping disruption. The implications are global, with geopolitical impact in almost every space. This will eventually result in global regulatory and governance concerns, as well as causing an entirely new aspect of information security to grow and mature. However, it will also enable a new breed of start-ups to compete and challenge more mature organizations at a scale we’ve never seen before.